
17 November 2013
Sharpening a chisel on sandpaper and glass
Filed under Tools and Materials
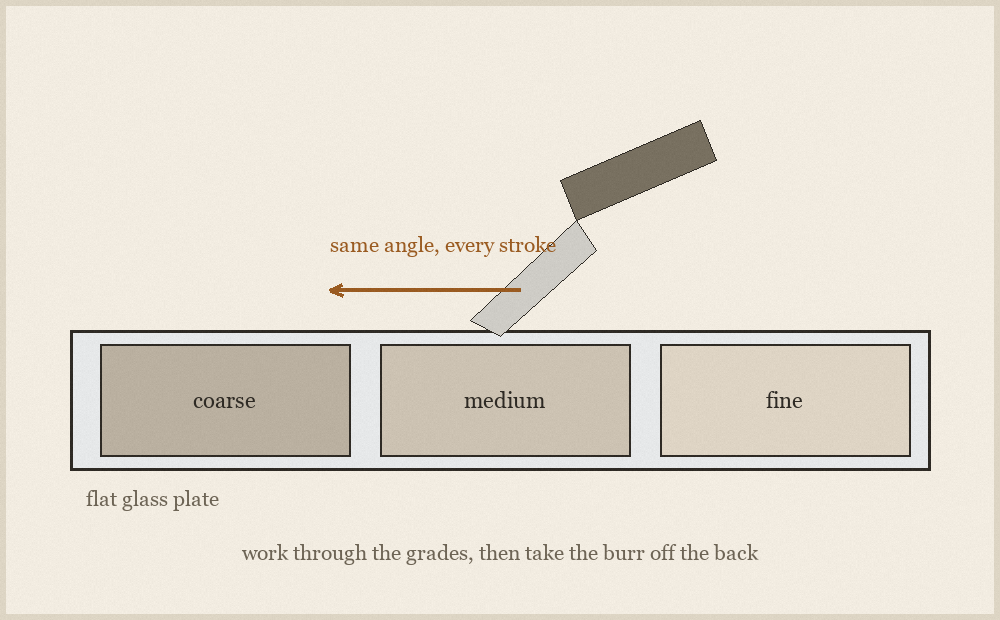
A sharp edge is two flat surfaces meeting, and sharpening is the business of making both of them flat and making them meet cleanly. Nothing else in the process matters as much as that, which is why sharpening on abrasive paper stuck to a piece of flat glass works as well as it does. The glass supplies the flatness; the paper supplies the cut.
Flatten the back first, once
The back of the chisel is half of the cutting edge, and a back that is hollow or rounded cannot produce a sharp edge no matter how well the bevel is ground. Work the back flat on the coarse sheet, holding it down flat and moving it in long strokes, until the scratch pattern is even right up to the edge. This is a one-time job on a given chisel and it is tedious, but it never has to be repeated.
Then bring the back up through the grades to the finest sheet. From that point on, the back only ever needs a few strokes on the finest sheet at the end of each sharpening.
Holding the bevel angle
The exact angle matters less than holding the same angle for the whole stroke and the same angle next time. A honing guide is the easy answer and there is no virtue in avoiding one. Freehand, the trick is to lock the wrists and elbows and move from the shoulders and hips so the geometry cannot change halfway through, and to check by feel for the moment the bevel sits flat on the sheet before applying any pressure at all.
Work through the grades in order and do not skip. Each grade is only removing the scratches left by the one before it, so skipping a grade means the fine sheet is doing coarse work slowly. Look at the scratch pattern after each grade: when the previous grade's scratches are entirely gone, move on.
Raising and removing the burr
You will know the bevel has reached the edge when a fine wire burr appears along the back. Feel for it with a fingertip drawn off the edge, never along it. The burr is proof that the two surfaces have met; until it appears, the grinding has not reached the edge and continuing on finer grades will polish a blunt edge beautifully.
Remove the burr at the end by laying the back flat on the finest sheet for a few light strokes, then one very light pass on the bevel, alternating until the burr detaches. Tearing it off by dragging the edge through timber leaves a ragged edge that fails within minutes.
Keeping it
Touch up early and often on the finest sheet rather than waiting for the edge to fail. A few strokes every so often takes seconds and keeps the tool working; a fully blunted chisel means starting again at the coarse sheet. Store chisels so the edges touch nothing: a drawer full of loose tools is the commonest cause of edges that were sharp yesterday and are not today.