
8 November 2015
Cutting a clean line where wall meets ceiling
Filed under Paint and Finishes
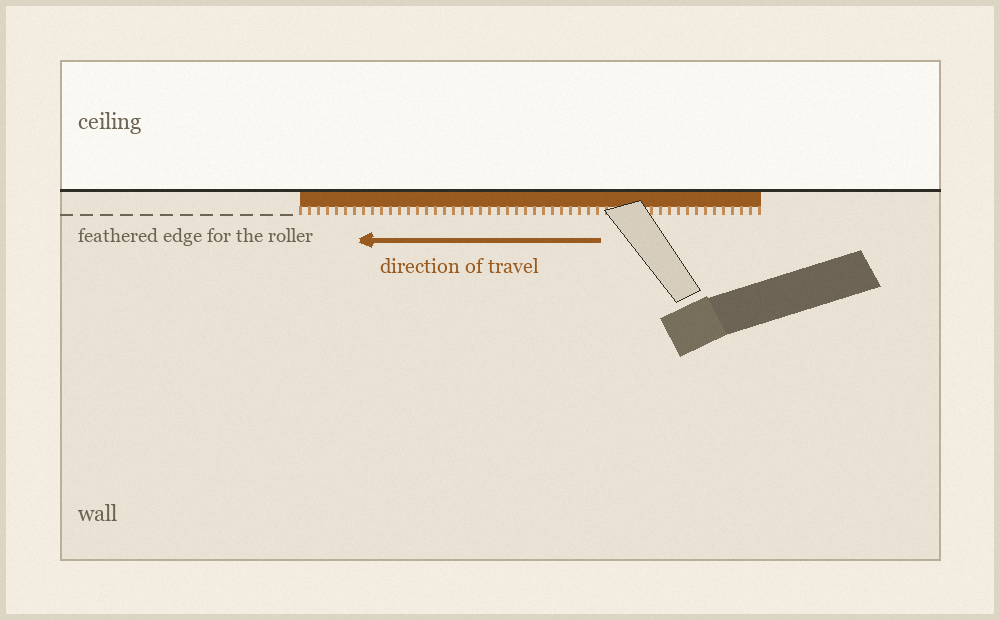
Cutting in is the part of painting that decides whether a room looks finished or looks attempted. Everything else is coverage. The line where the wall stops and the ceiling begins is at eye level for the whole life of the room, and a wobble there is the first thing a visitor's eye lands on, long before anyone notices that the roller left a light patch behind the door.
The mistake almost everyone makes at the start is to work with a nearly dry brush, on the theory that less paint means less risk. It is the opposite. A dry brush has to be pressed into the wall to leave anything behind, and pressing splays the bristles sideways in a way you cannot control. A properly loaded brush leaves a bead of paint that runs slightly ahead of the bristle tips, and that bead is what actually draws the line. Your job is to steer it.
Loading the brush
Dip about a third of the bristle length, no more, and tap each side against the inside of the tin rather than dragging the brush across the rim. Dragging strips the paint off one face and leaves the brush lopsided, so the bead forms on one corner instead of across the tip. Tapping keeps the load even and still knocks off the drip that would otherwise land on the floor on the way to the wall.
Use an angled brush and hold it like a pencil rather than like a hammer. The grip matters because the movement comes from the whole arm, not from the wrist. A wrist pivots, and a pivot draws an arc; the ceiling line is straight. Lock the wrist, plant the heel of your hand or a knuckle lightly against the wall as a running guide, and move from the shoulder.
Three passes, not one
Start about a finger's width below the ceiling and lay the paint on in a first pass without trying to reach the line at all. That pass is just delivery: it puts the material on the wall. On the second pass, come back through the wet paint and push the brush gently upward until the bead touches the ceiling, then draw along. Because the wall is already wet, the brush glides instead of grabbing, and the bead does the cutting.
The third pass is the one people skip. Come back along the same stretch with no additional paint on the brush and feather the lower edge out into the field of the wall, so the roller has something to blend into. Without it, you get a visible ridge a hand's width down from the ceiling, and that ridge catches side light for years.
Work in stretches of about an arm span. Any longer and the first end has begun to set before you return to feather it, which is how a lap mark forms. Any shorter and you spend the day reloading. If the room has a picture rail or a coving, treat every change of plane as the end of a stretch and start fresh on the other side.
When the ceiling is not straight
Older rooms rarely give you a true corner to work to. If the junction wanders, do not chase it: chasing produces a line that wanders more than the ceiling does, because your correction always arrives slightly late. Instead, pick the average and hold to it. A straight line that sits a hair off the junction for part of its length reads as deliberate, while a wavy line that follows the junction exactly reads as a mistake, even though it is technically more accurate.
Where the gap is genuinely wide, the answer is filler and a scraper before any paint comes out, not a thicker line. Paint is not a gap filler, and a heavy bead pushed into a crack will crack again at the same place within the year.
Keep a damp cloth over one finger while you work. A touch of wet paint on the ceiling comes off in a second if you catch it immediately, and needs a whole repaint of the ceiling if you find it the following day.