
15 March 2015
Scribing a baseboard to a floor that is not flat
Filed under Walls and Trim
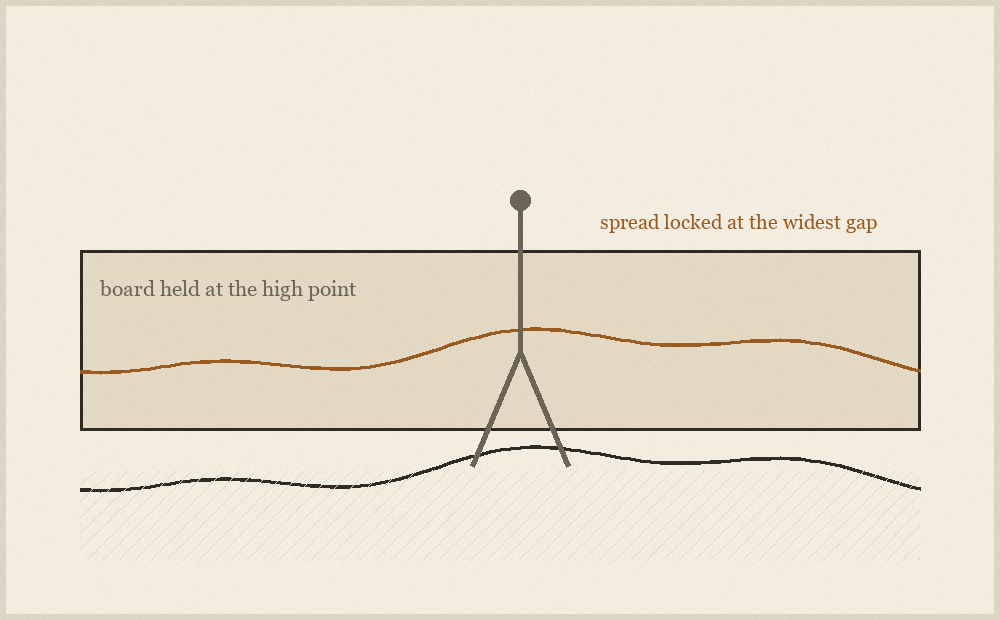
A board cut square meets a floor that is not, and the result is a wandering gap that no amount of filler makes honest. Scribing solves it by transferring the actual shape of the floor onto the board, so the cut follows the contour instead of ignoring it. It is one of the few genuinely old techniques that nothing has improved on.
Find the high point first
Before anything is marked, run a long straightedge along the floor where the board will sit and find the highest point. That point sets the height of the whole board, because a board can be cut away to meet a low spot but cannot be stretched to meet a high one. Rest the board on that high point, hold it level, and note how far the largest gap is elsewhere along the run.
If the board has to sit at a particular height for a reason, the same logic applies in reverse: hold it at that height, and the largest gap below it becomes your compass setting.
Setting and holding the compass
Open the compass to slightly more than the largest gap and, from then on, do not touch it. Every variation in spread becomes an error in the cut, and the most common failure is a compass that closes gradually as it drags along the floor. A compass with a locking screw is worth the trouble of finding; one that holds by friction should be checked against a ruler at the start and the finish of the run.
Keep both legs in the same plane and keep that plane square to the board for the whole pass. If the compass tilts, the horizontal distance between the legs shortens and the line drifts closer to the floor. Slow, steady and boring is the correct technique. Watch the point on the floor rather than the pencil.
Cutting to the line
Cut just outside the line and undercut the back edge slightly, so only the front face of the board meets the floor. A slight back bevel lets the face close tight even where the contour changes quickly, and no one ever sees the back. Cutting exactly on the line leaves the full thickness of the board to fight the floor, and the board wins in one place and loses in all the others.
Fit dry and look along the joint at a shallow angle before fixing anything. Places that still hold off are easy to find with a light behind the board, and a few passes of a rasp or a block plane usually close them. Once it is fixed, correction means taking it off again.
When not to bother
If the floor is going to be covered by a soft floor covering with its own trim, or if the finished floor is not yet down, scribing the board to the subfloor is wasted work and will produce a bad fit later. Work out the finished floor level first, pack the board up to sit above it, and scribe to that plane instead.