
20 April 2014
Sanding between coats without sanding through
Filed under Paint and Finishes
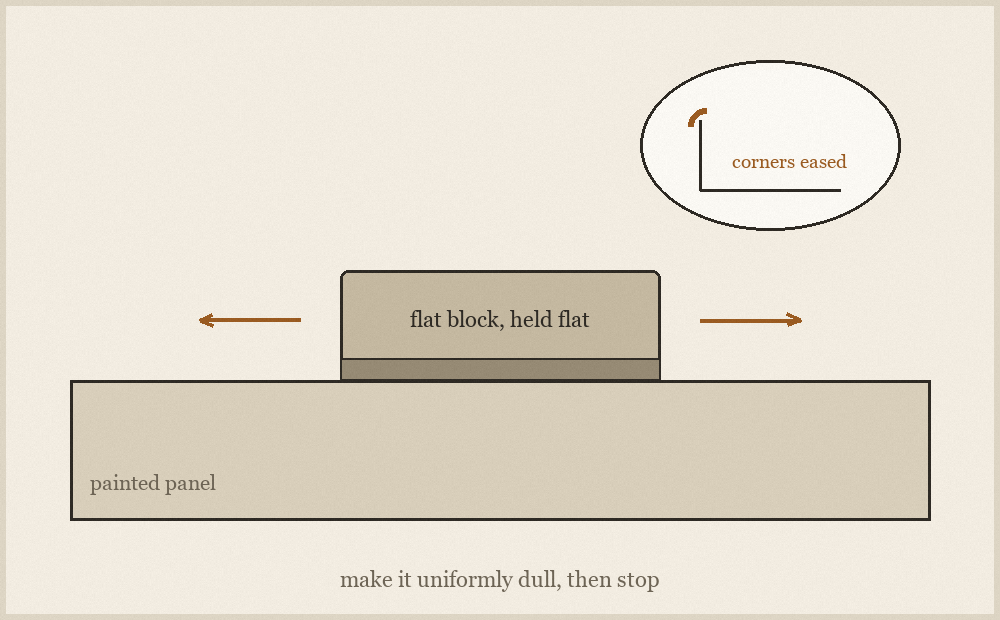
Sanding between coats is not about removing material. It is about knocking down the grain and the dust nibs that rose into the last coat so the next one has a flat surface to sit on. Once you hold that idea, the technique follows: light, flat, fine, and quick. Almost every failure comes from treating it as shaping rather than smoothing.
Wait for it to harden, not to dry
A coat that is dry to the touch is not yet hard, and soft film does not sand: it tears, rolls up into little balls, and clogs the paper. Give it longer than the label's touch-dry time and test in a corner. If the paper loads up after a few strokes, the film is not ready and nothing about your technique will fix that.
Use a block, and use it flat
Fingers behind paper apply pressure in narrow stripes, and narrow stripes cut through. A flat cork or rubber block spreads the load and follows the plane of the surface rather than the shape of your hand. On mouldings, wrap the paper around a shaped profile or a folded pad rather than pushing it into the detail with a fingertip, because a fingertip finds the arris of every bead and takes the paint off it first.
Ease the corners of the paper by rubbing them against each other before you start. Sharp paper corners dig in and leave tracks that show up in the next coat as fine parallel lines.
Fine grit, light hand
Use the finest abrasive that does the job, and let the weight of the block supply the pressure. You are trying to make the surface dull, not to change its shape. When the whole surface has gone uniformly matt, it is done. Chasing a particular nib after the rest has gone matt is exactly how you sand through on the high spots, which are also the spots most visible in the finished work.
The places that go through first
Edges, arrises, the crown of a moulding and anywhere the substrate is proud all wear first, because the block bridges the hollows and bears on the high points. Approach an edge with the block travelling along it rather than over it, and lighten as you reach a corner. On a panelled door, treat the edges of the panel and the corners of the mouldings as no-go areas for the block entirely and use a folded pad there.
If you do go through, do not try to blend it by sanding around it. Prime the exposed spot, let it dry, and carry on. A bare patch under a topcoat will show as a difference in sheen and colour no matter how many coats go over it.
Cleaning off
Remove the dust properly before the next coat: vacuum first, then wipe with a barely damp cloth and let the surface dry. Dry brushing just moves dust from the flat surfaces into the corners, and a corner full of sanding dust is where the next coat will look grainy. On a fine finish, a final wipe with a tack cloth is worth the trouble, and the difference is immediately visible.