
22 September 2013
Fixing a squeaking floor from above
Filed under Floors
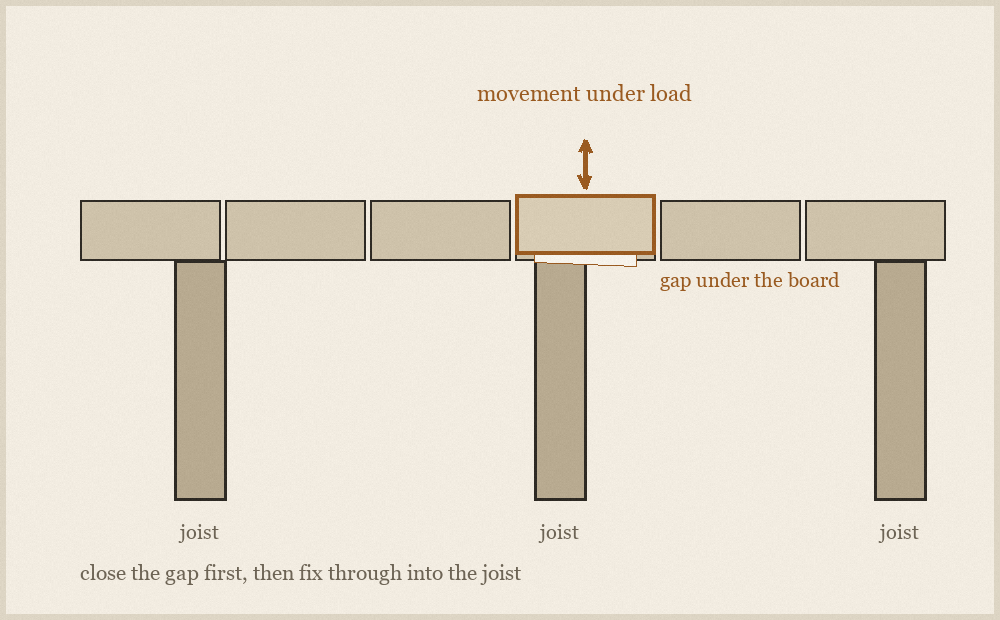
A floor squeak is movement, and the movement is almost always a board rising off its support under load and dropping back as the load passes. The noise itself is a nail shank rubbing in its hole, or two edges of timber moving against each other. Find which of those two it is and the repair is straightforward. Guess, and you will fix half the squeaks in the room and create a few new ones.
Locate it properly
Have someone walk slowly over the area while you kneel beside it with a hand flat on the floor. You can feel the board move, and feeling is far more precise than listening, because sound travels along the boards and seems to come from somewhere it does not. Mark every spot that moves, and mark the direction of travel that triggers it, since many squeaks only sound in one direction.
Then find the support. Existing nail or screw lines usually show where the joists run, and the pattern of those lines across the room tells you the spacing. The squeak will almost always be at or near a support, because that is where the board has something to lift off.
The gap under the board
If the board is rising off a joist, the gap under it has to be closed before it is fixed down, not by the fixing itself. Pulling a board down hard onto a joist it does not touch simply bends the board, and the bend transfers the movement to the next fixing along, which begins to squeak within weeks.
From above, the practical route is to fix through the board into the joist with a screw rather than a nail, driven while weight is on the board so the gap is closed at the moment of fixing. Screws hold where nails work loose, and a nail driven into an old hole holds worse than the one it replaced. Drill a clearance hole through the board so the screw pulls the board down rather than jacking it up, and countersink so the head sits below the surface.
Edge-to-edge squeaks
Where the noise comes from two boards rubbing rather than from movement at a joist, the cure is lubrication or separation rather than fixing. A fine dry powder worked into the joint along the length of the squeak reduces the friction that makes the noise, and is reversible and invisible. It is not a permanent repair, but a great many floor squeaks are edge squeaks, and this takes ten minutes.
Before you drill anything
Services run in notches and holes through joists, commonly near the middle of the joist depth and often along a route between rooms. Before driving anything longer than the board is thick, work out what is beneath: the position of radiators, sockets and the bathroom above gives a good idea of where pipes and cables are likely to travel. If the area is under any suspicion, lift a board and look rather than driving blind. A fixed squeak is not worth a pierced pipe.
Finally, accept that an old floor makes some noise and will continue to. The target is removing the noises that make you flinch, not silence. Chasing the last faint creak usually means putting more fixings into an old board than the board can take, and a board split by over-fixing is a bigger job than the squeak ever was.